TL;DR: In this article you will learn how to integrate Auth0 with the fast and scalable Azure DocumentDB as a custom database connection and use it in your Auth0 applications.
Auth0 offers a highly performant and secure user store to maintain your users’ profiles. It is also a common solution if you want to store your users’ login information in your own database where you keep all of your application's data; in this case, Auth0 provides you with several identity providers you can use to integrate. One such database is Azure DocumentDB, a blazing-fast NoSQL service for highly available and globally distributed applications.
During this article, we will guide you into integrating Auth0 and Azure DocumentDB so your users' profiles are stored on your cloud NoSQL database.
Authentication integrated
Let’s start by noting the diversity of custom database identity providers that Auth0 supports.
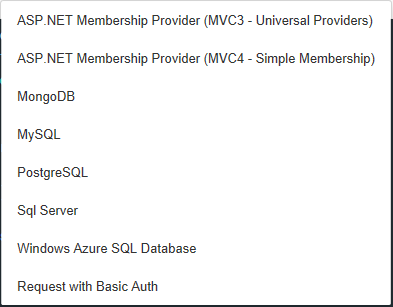
This list includes MySQL, Sql Server (both on-premises and on Azure), PostgreSQL, ASP.NET Membership Providers, any Basic Auth web service and MongoDB. We will focus on this last one since Azure DocumentDB now supports the MongoDB protocol.
You can see the full Custom Database Identity providers' documentation in the official docs.
The integration is achieved by customizable Node.js scripts that can be coded directly on Auth0’s configuration dashboard manually or using a wide array of templates.
To sum up, we will be using the MongoDB protocol supported by Auth0 identity provider to connect to our Azure DocumentDB and store/retrieve our users' information by custom Node.js scripts.
Creating our database
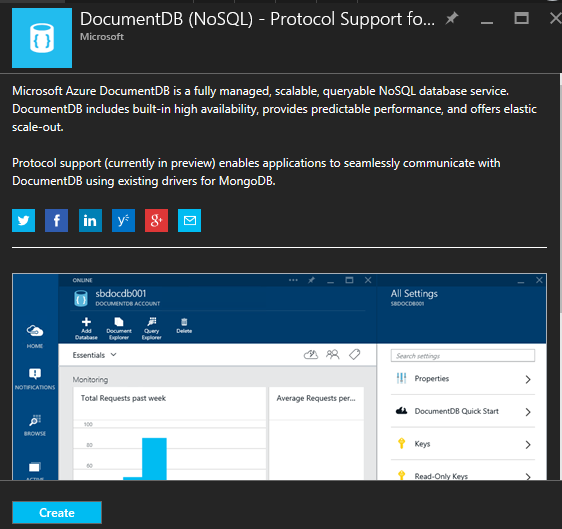
As we mentioned before, Azure DocumentDB supports the creation of databases that support the MongoDB protocol (as of the writing of this article, this feature is in preview). We must access the Azure Portal and filter for DocumentDB services to find the version with MongoDB support:
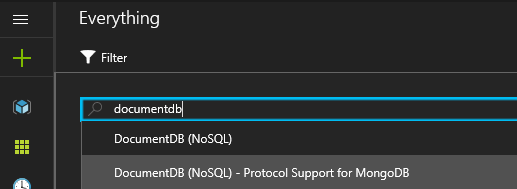
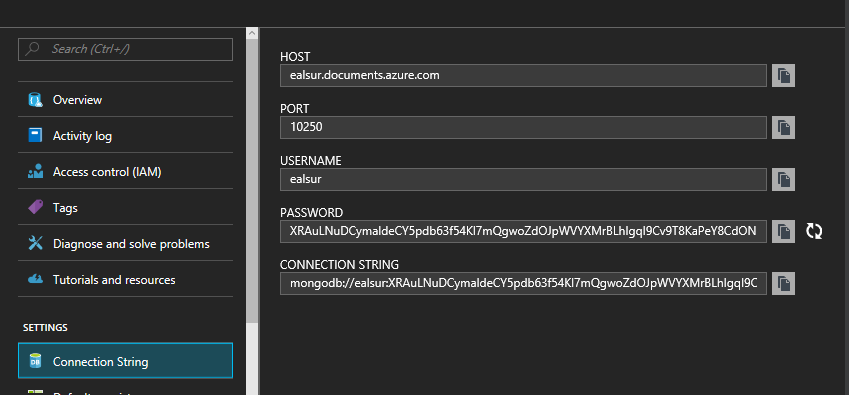
Once created, we will be able to access our connection string credentials on the instance blade. We need to take note of these values because we will use them later on the integration:
After creating our service, we will proceed to create a Database and a Collection to store our data. If you are not familiar with the Database and Collection concepts for NoSQL databases, a Database can hold multiple Collections and each Collection will store Documents (in JSON format). You will be billed for each Collection, so plan your distribution accordingly.
You can review the complete concept diagram in the official documentation.
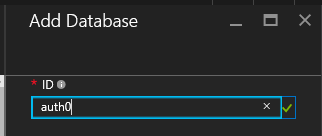
We will create an "auth0" database:
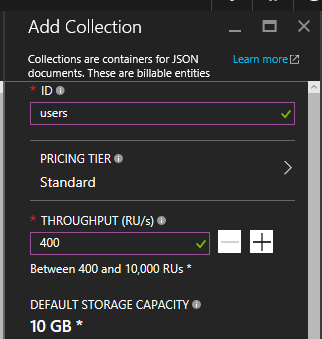
And a "users" collection:
Azure DocumentDB lets you define a dynamic and scalable throughput you can increase later as your application demands.
Establishing the integration
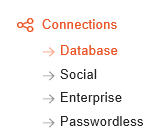
In this step, we will use the connection string information we collected in the Azure Portal to create a custom database provider. In your Auth0 Dashboard, you will see a Connections > Database configuration section:
Once there, you can Create a Db Connection:
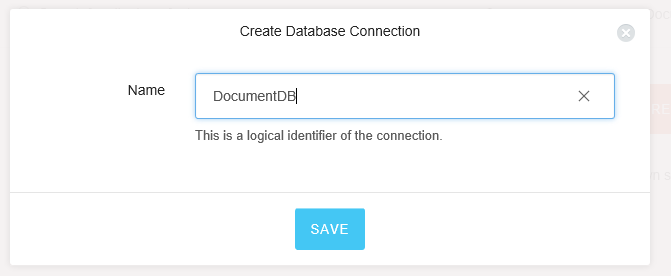
You will be asked for a name:
Once created, we will go to the Custom Database tab and enable the "Use my own database" toggle, which will activate the lower Database Action Scripts section.
The Auth0 editor allows us to define global variables to reuse on all our Node.js scripts. Let's start by setting a global connection string; on the Settings subsection, we create a "ConnectionString" key and paste the Connection String value we obtained from the Azure Portal with the added database name.
Your copied string looks like this:
mongodb://<your_service_name>:<your_password>==@<your_service_name>.documents.azure.com:10250/?ssl=true
We will add the database name after the port, like this:
mongodb://<your_service_name>:<your_password>==@<your_service_name>.documents.azure.com:10250/auth0?ssl=true
In our Node.js scripts, we can access this value by the global variable configuration.ConnectionString.
Now, we will define our custom Login, Create, Verify, Change Password and Delete scripts using our predefined variable:
Login
function login (email, password, callback) {
  mongo(configuration.ConnectionString, function (db) {
    var users = db.collection('users');
    users.findOne({email: email}, function (err, user) {


if (err) return callback(err);

      if (!user) return callback();

      if (!bcrypt.compareSync(password, user.password)) {
        return callback();
      }
      callback(null,   {
        user_id:      user._id.toString(),
        nickname:     user.nickname,
        email:        user.email
      });

    });
  });
}
Create
function create (user, callback) {
  mongo(configuration.ConnectionString, function (db) {
    var users = db.collection('users');

    users.findOne({ email: user.email }, function (err, withSameMail) {

      if (err) return callback(err);
      if (withSameMail) return callback(new Error('the user already exists'));

      user.password = bcrypt.hashSync(user.password, 10);

      users.insert(user, function (err, inserted) {
        if (err) return callback(err);
        callback(null);
      });
    });
  });
}
Verify
function verify (email, callback) {
  mongo(configuration.ConnectionString, function (db) {
    var users = db.collection('users');
    var query = { email: email, email_verified: false };

    users.update(query, { $set: { email_verified: true } }, function (err, count) {
      if (err) return callback(err);
      callback(null, count > 0);
    });
  });
}
Change Password
function changePassword (email, newPassword, callback) {
  mongo(configuration.ConnectionString, function (db) {
    var users = db.collection('users');

    var hashedPassword = bcrypt.hashSync(newPassword, 10);

    users.update({ email: email }, { $set: { password: hashedPassword } }, function (err, count) {
      if (err) return callback(err);
      callback(null, count > 0);
    });
  });
}
Delete
function remove (id, callback) {
  mongo(configuration.ConnectionString, function (db) {
    var users = db.collection('users');
      var o_id = new mongo.ObjectID(id);
      users.remove({ _id: o_id }, function (err) {
      if (err) return callback(err);
      callback(null);
    });
  });
}
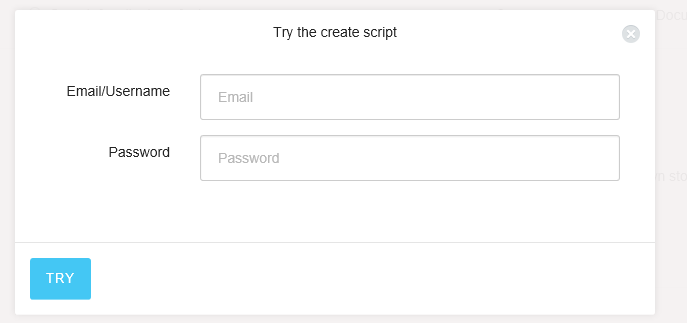
And we can test the connection by running the Create script from within the interface:
If we query the content of the Azure DocumentDB collection through the Azure Portal, we will find our created user:
{
    "_id": {
      "$oid": "57f2983189b7550100e909e4"
    },
    "tenant": "ealsur",
    "connection": "DocumentDB",
    "email": "ealsur@ealsur.com.ar",
    "password": "$2a$10$hiSfzkpLjQUXivV4AvdakOCsTqDAYeSAx1Dn2HfPW6XuU28i5wgpq",
    "debug": true,
    "id": "57f2983189b7550100e909e4",
    "_rid": "u11qAL9JdQATAAAAAAAAAA==",
    "_self": "dbs/u11qAA==/colls/u11qAL9JdQA=/docs/u11qAL9JdQATAAAAAAAAAA==/",
    "_etag": "\"08007436-0000-0000-0000-57f298320000\"",
    "_attachments": "attachments/",
    "_ts": 1475516462
}
As you can see, this is a plain JSON object that is readable through any application-consuming collection.
Finally, we can create a new Client Application and define that we will use our custom Azure DocumentDB database on the Connections configuration.
For a detailed concept explanation, you can read the official Applications documentation.
This will let our Client Application access and use the DocumentDB identity provider.
User profile customization
Since Azure DocumentDB uses JSON to store our user profiles, we can take advantage of this dynamic data format and customize our users' profile data during sign-up.
To achieve this, we can use Auth0's Lock and configure the required additional signup fields. This will generate the new fields and store them on our collection as part of the user profile without any extra work.
You can also view the complete Custom Signup documentation for a more detailed explanation.
Conclusion
Auth0’s custom database flexibility lets us use one of the most dynamic and fast NoSQL service offerings available. Azure DocumentDB has the ability to scale and grow as your business or application does in a seemingly easy way.


