TL;DR: In this article, you will learn how to develop a beautiful splash screen for your React apps. This screen will help users understand that your app is loading important data and that it is not stuck. If you need, you can check the final code developed throughout this article in the splash-screen branch of this GitHub repository.
Prerequisites
To follow this article along, you are expected to have some prior knowledge around JavaScript and React. If you don't have previous experience with React, you can check out this article to learn, from scratch, how to build and secure React apps.
Besides this knowledge, you are expected to have both NPM and Node.js installed in your machine. If you don't have them, please, check out this page to install both.
"Learn how to take advantage of high-order components to create a nice splash screen for your React apps."
Tweet This
Splash Screens
As defined on Wikipedia, a splash screen is a graphical control element consisting of a window containing an image, a logo, and the current version of the software, and it usually appears while a game or program is launching. The main goal of a splash screen is to make your users aware that the program is in a state where it is loading important data before they can start using the program.
You may wonder, "do I need a splash screen in my React app?" The answer, like always, is "it depends." If your React app doesn't need more than a few milliseconds to be ready, then you probably don't need a splash screen. However, there are times where your app needs to load some data or work on some process that is so important that it doesn't really make sense to show anything before it finishes. In these cases, your app (and mainly your users) might benefit from a nice splash screen.
In this article, you will clone a React app from GitHub that faces this exact scenario. In order to be useful, the React app that you will clone needs to create/check sessions into two different providers: Firebase and Auth0. Firebase provides, among other things, a real-time database that might require an authenticated user before accepting requests (that's the case of the React app that you will work on). Auth0, which is an identity service, enables users to authenticate into your apps and might need half a second to check for user sessions.
As you can see, in this React app, both services need some time to initialize a session before enabling users to go on. This situation, by itself, would already be a good scenario to implement a splash screen in a React app. However, what makes it even a better scenario for splash screens is the fact that Firebase can only initialize a session after Auth0 finishes initializing its own. This is so because Firebase uses Auth0 users to authenticate. So, there is no way to initialize both in parallel.
Splash Screens on React Apps
The best way to develop a splash screen for your React app is to define it as a High-Order Component (HOC). If you don't know what a HOC is or how to use it, don't worry. As you will see while developing your splash screen, the approach and the concept are quite simple. However, you might benefit from the official definition of HOCs:
A higher-order component (HOC) is an advanced technique in React for reusing component logic. HOCs are not part of the React API, per se. They are a pattern that emerges from React’s compositional nature. Concretely, a higher-order component is a function that takes a component and returns a new component.—React.
That is, a HOC is nothing more than a function that gets another component as a parameter and that, depending on the situation, generates a new component with different capabilities. In this case, you will create a HOC that will get a component (your whole app) and that will return a splash screen while the app is loading the desired state. Then, when the app finishes loading this state, your component will allow it to render and it will hide the splash screen.
Developing a Splash Screen for Your React Apps
Now that you know why you might need a splash screen in your React apps and that you know (conceptually) how you would implement it, it is time to see the whole concept in action. So, as mentioned before, you will start by cloning a pre-existing React app that suffers from a not-that-fast loading time. To do so, open a terminal, move into the directory where you usually save your projects, and execute the following commands:
# clone the sample
git clone https://github.com/auth0-blog/react-splash-screen

# move into the cloned app
cd react-splashscreen

# install all dependencies
npm install

# run the application
export REACT_APP_AUTH0_DOMAIN=blog-samples.auth0.com
export REACT_APP_AUTH0_CLIENT_ID=6QfrEoazULfAssc0NqqGhfKkb7mumsCJ
export REACT_APP_AUTH0_REDIRECT_URI=http://localhost:3000
npm start
Note: The
exportcommands above create environment variables with details of a demo Auth0 account. If you do have your own account, you can create a SPA in your Auth0 dashboard and replace the environment variables above with your its details.
The last command will make your app run and will open it on your default web browser (i.e., it will open http://localhost:3000 in your browser).
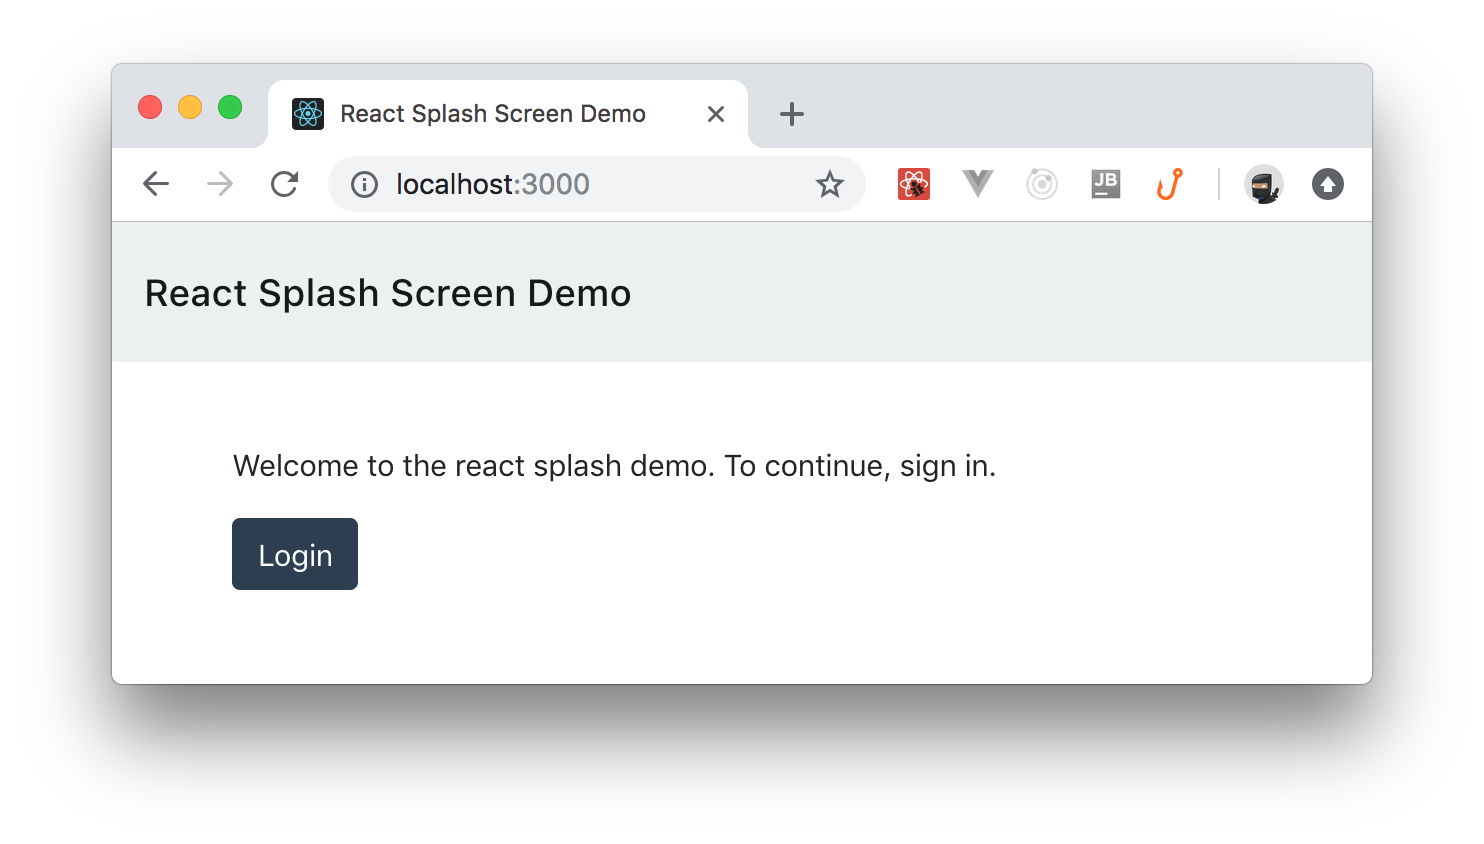
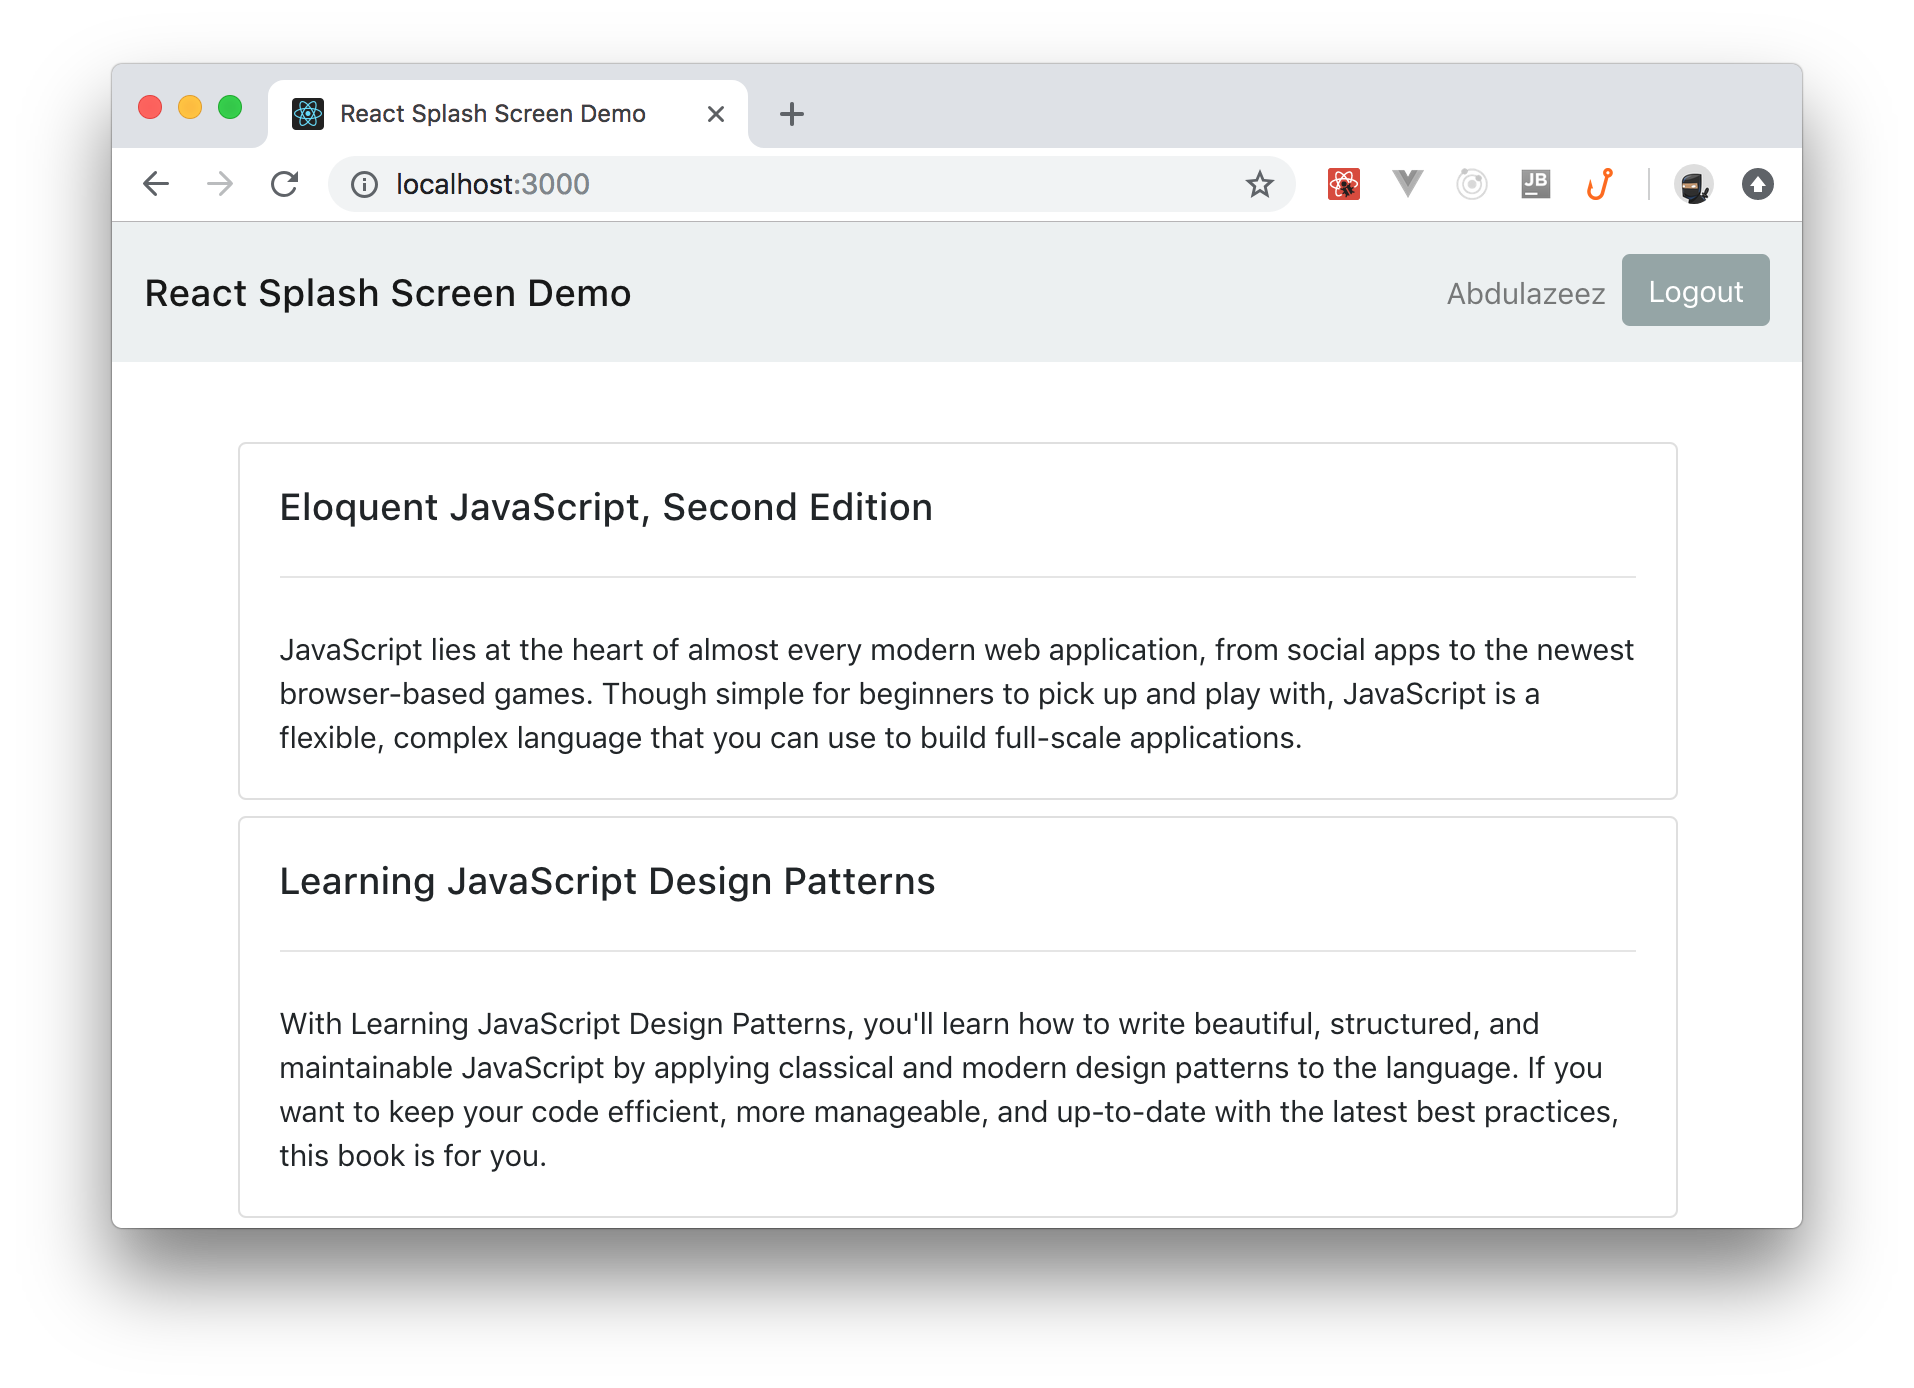
Now, as you can see, in the beginning, the app provides nothing else than a log in button. If you click on this button, the app will redirect you to the Auth0 Login Page where you will be able to authenticate yourself. After authenticating, Auth0 will redirect you back to your app (i.e., to http://localhost:3000) where you will face the following behavior: at the very moment that you arrive at the app, you will see the same exact screen as you saw before logging in (with the log in button). Then, after a second or two, you will notice that the screen "blinks" (gets updated) and that now it shows your name, a log out button, and a list of books.
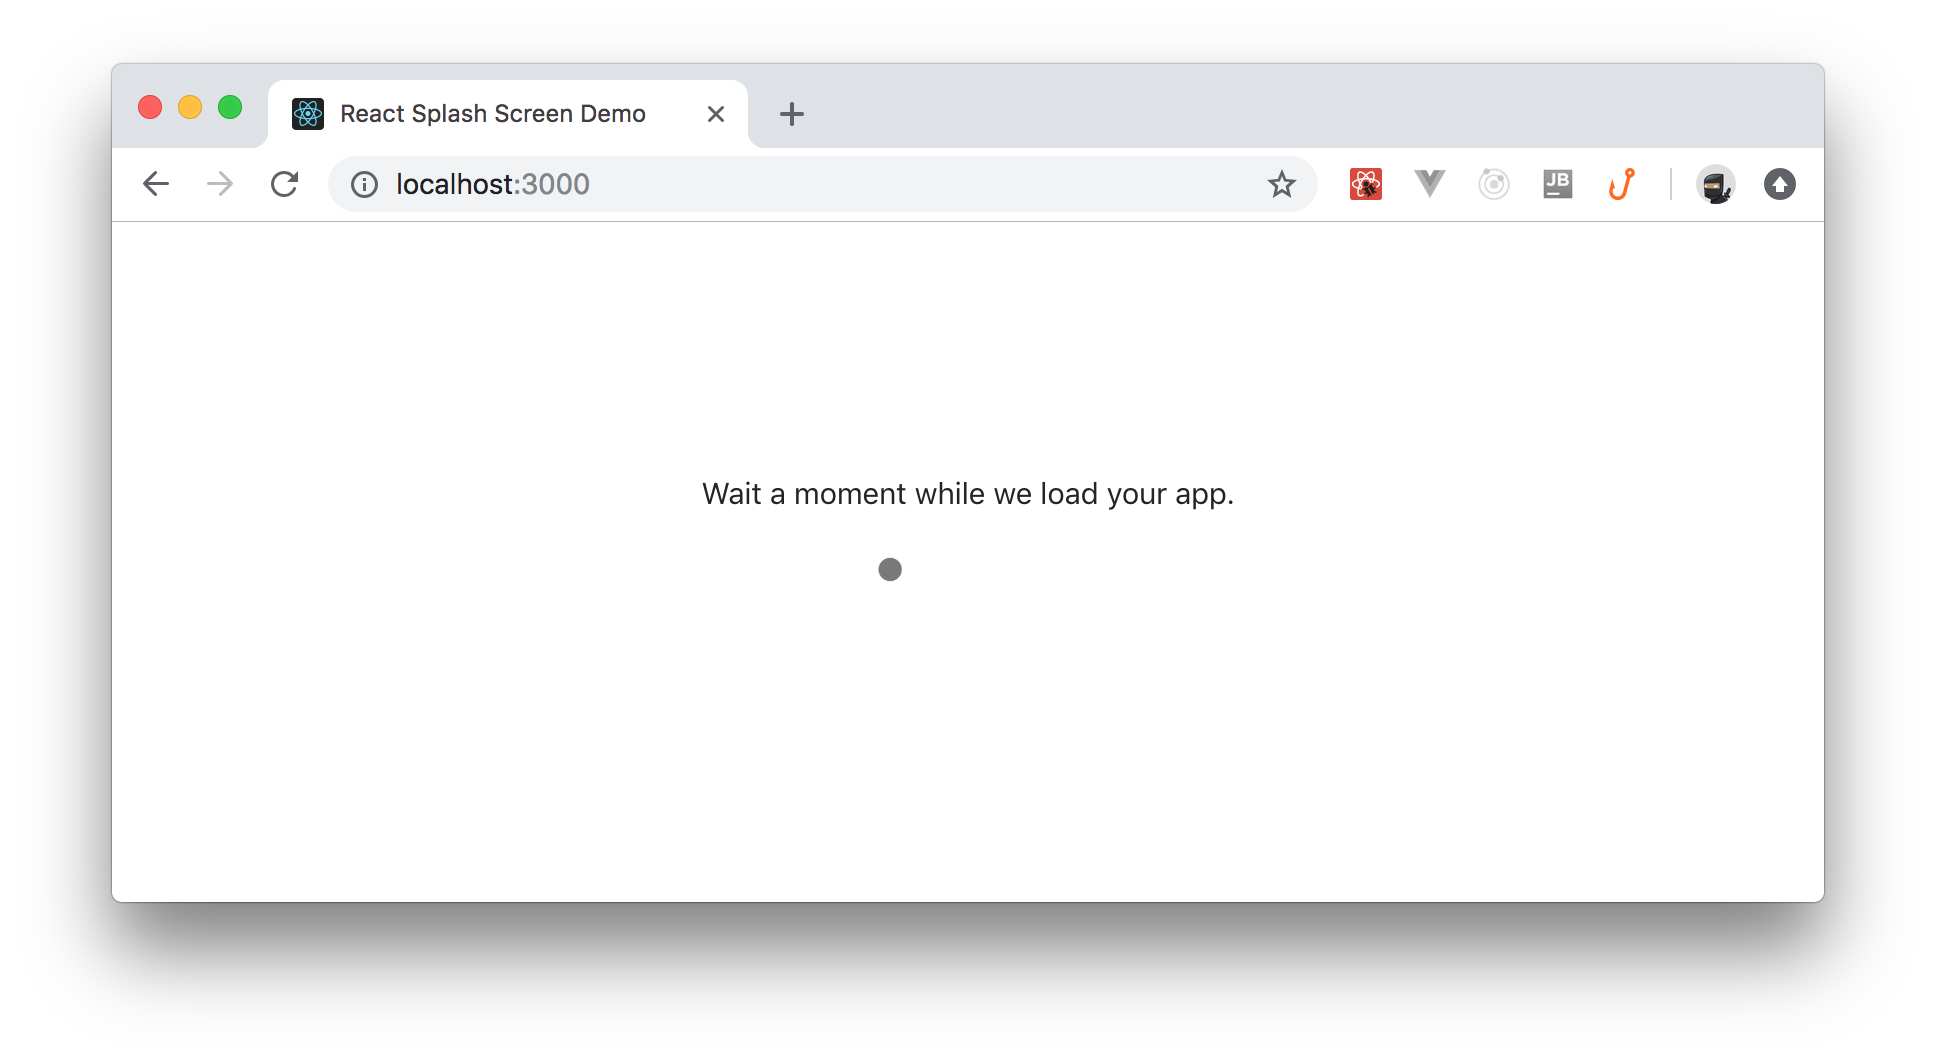
While your app was loading your session and loading the list of books, it was showing a wrong state. By looking at the app for a second, you and your users might feel that you are not actually logged in, and that something went wrong. To solve this problem, you will add a splash screen in your app that will correctly inform your users that the app is loading.
Adding the Splash Screen Component
With your app up and running, the next thing you will do is to create a new file called withSplashScreen.js under the ./src/components directory. Notice that this component's name, unlike others, start with a with prefix. This is a common pattern among React developers. Every time you are building a HOC, starting its name with with is a good practice.
So, after creating this file, you will insert the following code into it:
import React, {Component} from 'react';
import auth0Client from '../Auth';
import './splash-screen.css';

function LoadingMessage() {
  return (
    <div className="splash-screen">
      Wait a moment while we load your app.
      <div className="loading-dot">.</div>
    </div>
  );
}

function withSplashScreen(WrappedComponent) {
  return class extends Component {
    constructor(props) {
      super(props);
      this.state = {
        loading: true,
      };
    }

    async componentDidMount() {
      try {
        await auth0Client.loadSession();
        setTimeout(() => {
          this.setState({
            loading: false,
          });
        }, 1500)
      } catch (err) {
        console.log(err);
        this.setState({
          loading: false,
        });
      }
    }

    render() {
      // while checking user session, show "loading" message
      if (this.state.loading) return LoadingMessage();

      // otherwise, show the desired route
      return <WrappedComponent {...this.props} />;
    }
  };
}

export default withSplashScreen;
As you can see, this file defines two functions:
LoadingMessage: This is the component that the HOC will show while it is loading everything needed to make your React app run.withSplashScreen: This is the high-order component itself.
This HOC gets a parameter called WrappedComponent so it can know what the app is trying to render. Then, when the HOC mounts on the screen (i.e., when React calls the componentDidMount method), this component triggers a call to auth0Client.loadSession to load the user session (if any) from Auth0. If the component manages to load a session from Auth0, this function triggers a call to setTimeout with a 1.5 seconds delay (setTimeout(() => {...}, 1500)).
Note: This timeout is actually representing what would happen in the real-world application. That is, this timeout is replacing the call to a Firebase SDK so you don't have to set up a Firebase account by yourself and we don't have to share ours publicly. If you want to learn how to use Firebase and Auth0 together to create real-time web apps, check out this article.
During this delay, the withSplashScreen HOC will replace the component that the app wants to render (i.e., the WrappedComponent) by the LoadingMessage component. After the app finishes loading what is needed, the HOC component will change the value of the loading state (loading: false) causing a re-render that will result on the app rendering the WrappedComponent instead of the loading message.
One important characteristic about the componentDidMount function is that, if the user has no session at Auth0, the call to auth0Client.loadSession will fail almost instantaneously and the splash screen will go away fast.
Now, if you take a closer look at the current version of the App.js file, you will see that this component contains a similar function called componentDidMount. What you are doing is to actually move away from the loadSession process from the App.js file to the new withSplashScreen component. As such, you will have to remove this method, which will make your App.js file look like this:
import React, {Component, Fragment} from 'react';
import {Route} from 'react-router-dom'
import NavBar from './components/NavBar';
import Welcome from './components/Welcome';

class App extends Component {
  render() {
    return (
      <Fragment>
        <NavBar />
        <div className="container-fluid">
          <Route path="/" exact component={Welcome} />
        </div>
      </Fragment>
    );
  }
}

export default App;
However, you haven't made use of the withSplashScreen HOC yet. To do so, you will update this same file one more time:
// ... other import statements ...
import withSplashScreen from './components/withSplashScreen';

// ... App class definition ...

// replace the last line so you pass App as a parameter to withSplashScreen
export default withSplashScreen(App);Note: Calling
withSplashScreen(App)makes theWrappedComponentparameter of thewithSplashScreencomponent point toApp. As such, after finishing its job, the splash screen will end up rendering yourAppcomponent.
With that in place, you are almost done. The last thing you will need to do is to create some CSS rules to make your splash screen look nice. If you take a look back into the withSplashScreen.js file, you will notice that there is an import statement there that tries to load a file called splash-screen.css from the same directory. As such, you will create this file now and add the following CSS rules to it:
.splash-screen {
  width: 100%;
  height: 100%;
  display: flex;
  flex-direction: column;
  align-items: center;
  justify-content: center;
}

.splash-screen .loading-dot {
  font-size: 100px;
  margin-top: -80px;
  position: relative;
  animation: ease-in-out infinite alternate;
  animation-name: run;
  animation-duration: 1.2s;
}

@keyframes run {
  0% {
    left: -90px;
    color: #eee;
  }
  50% {
    color: #666;
  }
  100% {
    left: 90px;
    color: #eee;
  }
}
That's it! You just finished creating a nice splash screen HOC to attach to your React app. To see it in action, you can simply reload your browser and, if you already logged in before, you will see the splash screen for 1.5 seconds or so (i.e., for the duration of the auth0Client.loadSession() call plus the 1500 milliseconds passed to setTimeout).
Cool, isn't it?
"I just learned how to create a nice splash screen for my React apps."
Tweet This
Aside: Auth0 Authentication with JavaScript
At Auth0, we make heavy use of full-stack JavaScript to help our customers to manage user identities, including password resets, creating, provisioning, blocking, and deleting users. Therefore, it must come as no surprise that using our identity management platform on JavaScript web apps is a piece of cake.
Auth0 offers a free tier to get started with modern authentication. Check it out, or sign up for a free Auth0 account here!
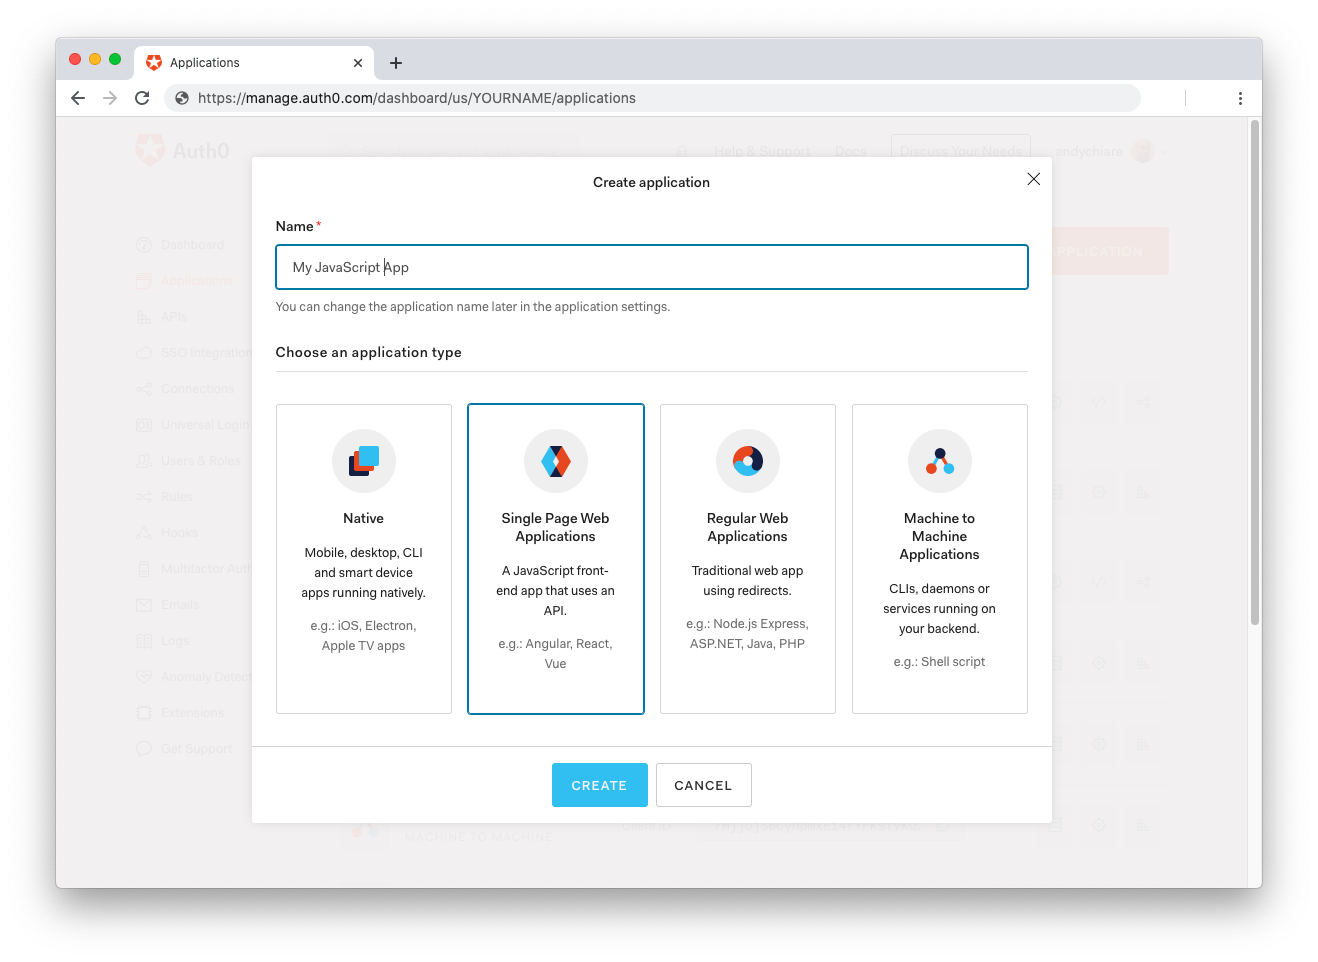
Then, go to the Applications section of the Auth0 Dashboard and click on "Create Application". On the dialog shown, set the name of your application and select Single Page Web Applications as the application type:

After the application has been created, click on "Settings" and take note of the domain and client id assigned to your application. In addition, set the Allowed Callback URLs and Allowed Logout URLs fields to the URL of the page that will handle login and logout responses from Auth0. In the current example, the URL of the page that will contain the code you are going to write (e.g. http://localhost:8080).
Now, in your JavaScript project, install the auth0-spa-js library like so:
npm install @auth0/auth0-spa-jsThen, implement the following in your JavaScript app:
import createAuth0Client from '@auth0/auth0-spa-js';

let auth0Client;

async function createClient() {
  return await createAuth0Client({
    domain: 'YOUR_DOMAIN',
    client_id: 'YOUR_CLIENT_ID',
  });
}

async function login() {
  await auth0Client.loginWithRedirect();
}

function logout() {
  auth0Client.logout();
}

async function handleRedirectCallback() {
  const isAuthenticated = await auth0Client.isAuthenticated();

  if (!isAuthenticated) {
    const query = window.location.search;
    if (query.includes('code=') && query.includes('state=')) {
      await auth0Client.handleRedirectCallback();
      window.history.replaceState({}, document.title, '/');
    }
  }

  await updateUI();
}

async function updateUI() {
  const isAuthenticated = await auth0Client.isAuthenticated();

  const btnLogin = document.getElementById('btn-login');
  const btnLogout = document.getElementById('btn-logout');

  btnLogin.addEventListener('click', login);
  btnLogout.addEventListener('click', logout);

  btnLogin.style.display = isAuthenticated ? 'none' : 'block';
  btnLogout.style.display = isAuthenticated ? 'block' : 'none';

  if (isAuthenticated) {
    const username = document.getElementById('username');
    const user = await auth0Client.getUser();

    username.innerText = user.name;
  }
}

window.addEventListener('load', async () => {
  auth0Client = await createClient();

  await handleRedirectCallback();
});
Replace the
YOUR_DOMAINandYOUR_CLIENT_IDplaceholders with the actual values for the domain and client id you found in your Auth0 Dashboard.
Then, create your UI with the following markup:
<p>Welcome <span id="username"></span></p>
<button type="submit" id="btn-login">Sign In</button>
<button type="submit" id="btn-logout" style="display:none;">Sign Out</button>
Your application is ready to authenticate with Auth0!
Check out the Auth0 SPA SDK documentation to learn more about authentication and authorization with JavaScript and Auth0.
Conclusion
Throughout this short article, you learned how to make use of High-Order Component to add splash screens to your React apps. The approach is quite easy and you can apply the concept to any React app (or any component-based UI library for that matter). I hope you enjoyed the article and that you got valuable information from it. Happy hacking!


