.NET Conf 2019 was an exciting and unique event that took place this year from September 23 — 25. It is a free, 3-day virtual conference co-organized by the .NET community and Microsoft. Anyone with an Internet connection was able to attend.
.NET Conf 2019: A Virtual Conference
This year the conference saw the launch of .NET Core 3.0, offered prizes to attendees such as free Xbox One X consoles, and hosted talks from a world-class lineup of speakers from Microsoft and the community.
Our own Developer Advocate Engineer Bobby Johnson gave a talk focused on exploring how the username-password strategy got so complicated over time. Bobby shows you how overwhelming it can be to take your first step beyond username and password-based authentication strategies, which are the default authentication strategies offered by most full-stack web application frameworks.
Social logins, Identity Providers, OAuth 2.0, LDAP, SAML, OpenId Connect; all can be confusing. What does it all mean? How did we get here? Watch Bobby's talk to find out:

The organizers have made all the sessions available on-demand on YouTube. Be sure to check them out.
More Resources
Bobby's Twitch Channel: Streams three times per week!
The Live Coders' Twitch Channel: Enthusiastic streaming developer community with members who participated in .NET Conf 2019 as organizers or attendees.
Aside: Securing ASP.NET Core 3.0 with Auth0
Authentication and authorization are hard but securing ASP.NET Core 3.0 applications with Auth0 is easy and brings a lot of great features to the table. With Auth0, you only have to write a few lines of code to get solid identity management solution, single sign-on, support for social identity providers (like Facebook, GitHub, Twitter, etc.), and support for enterprise identity providers (like Active Directory, LDAP, SAML, custom, etc.).
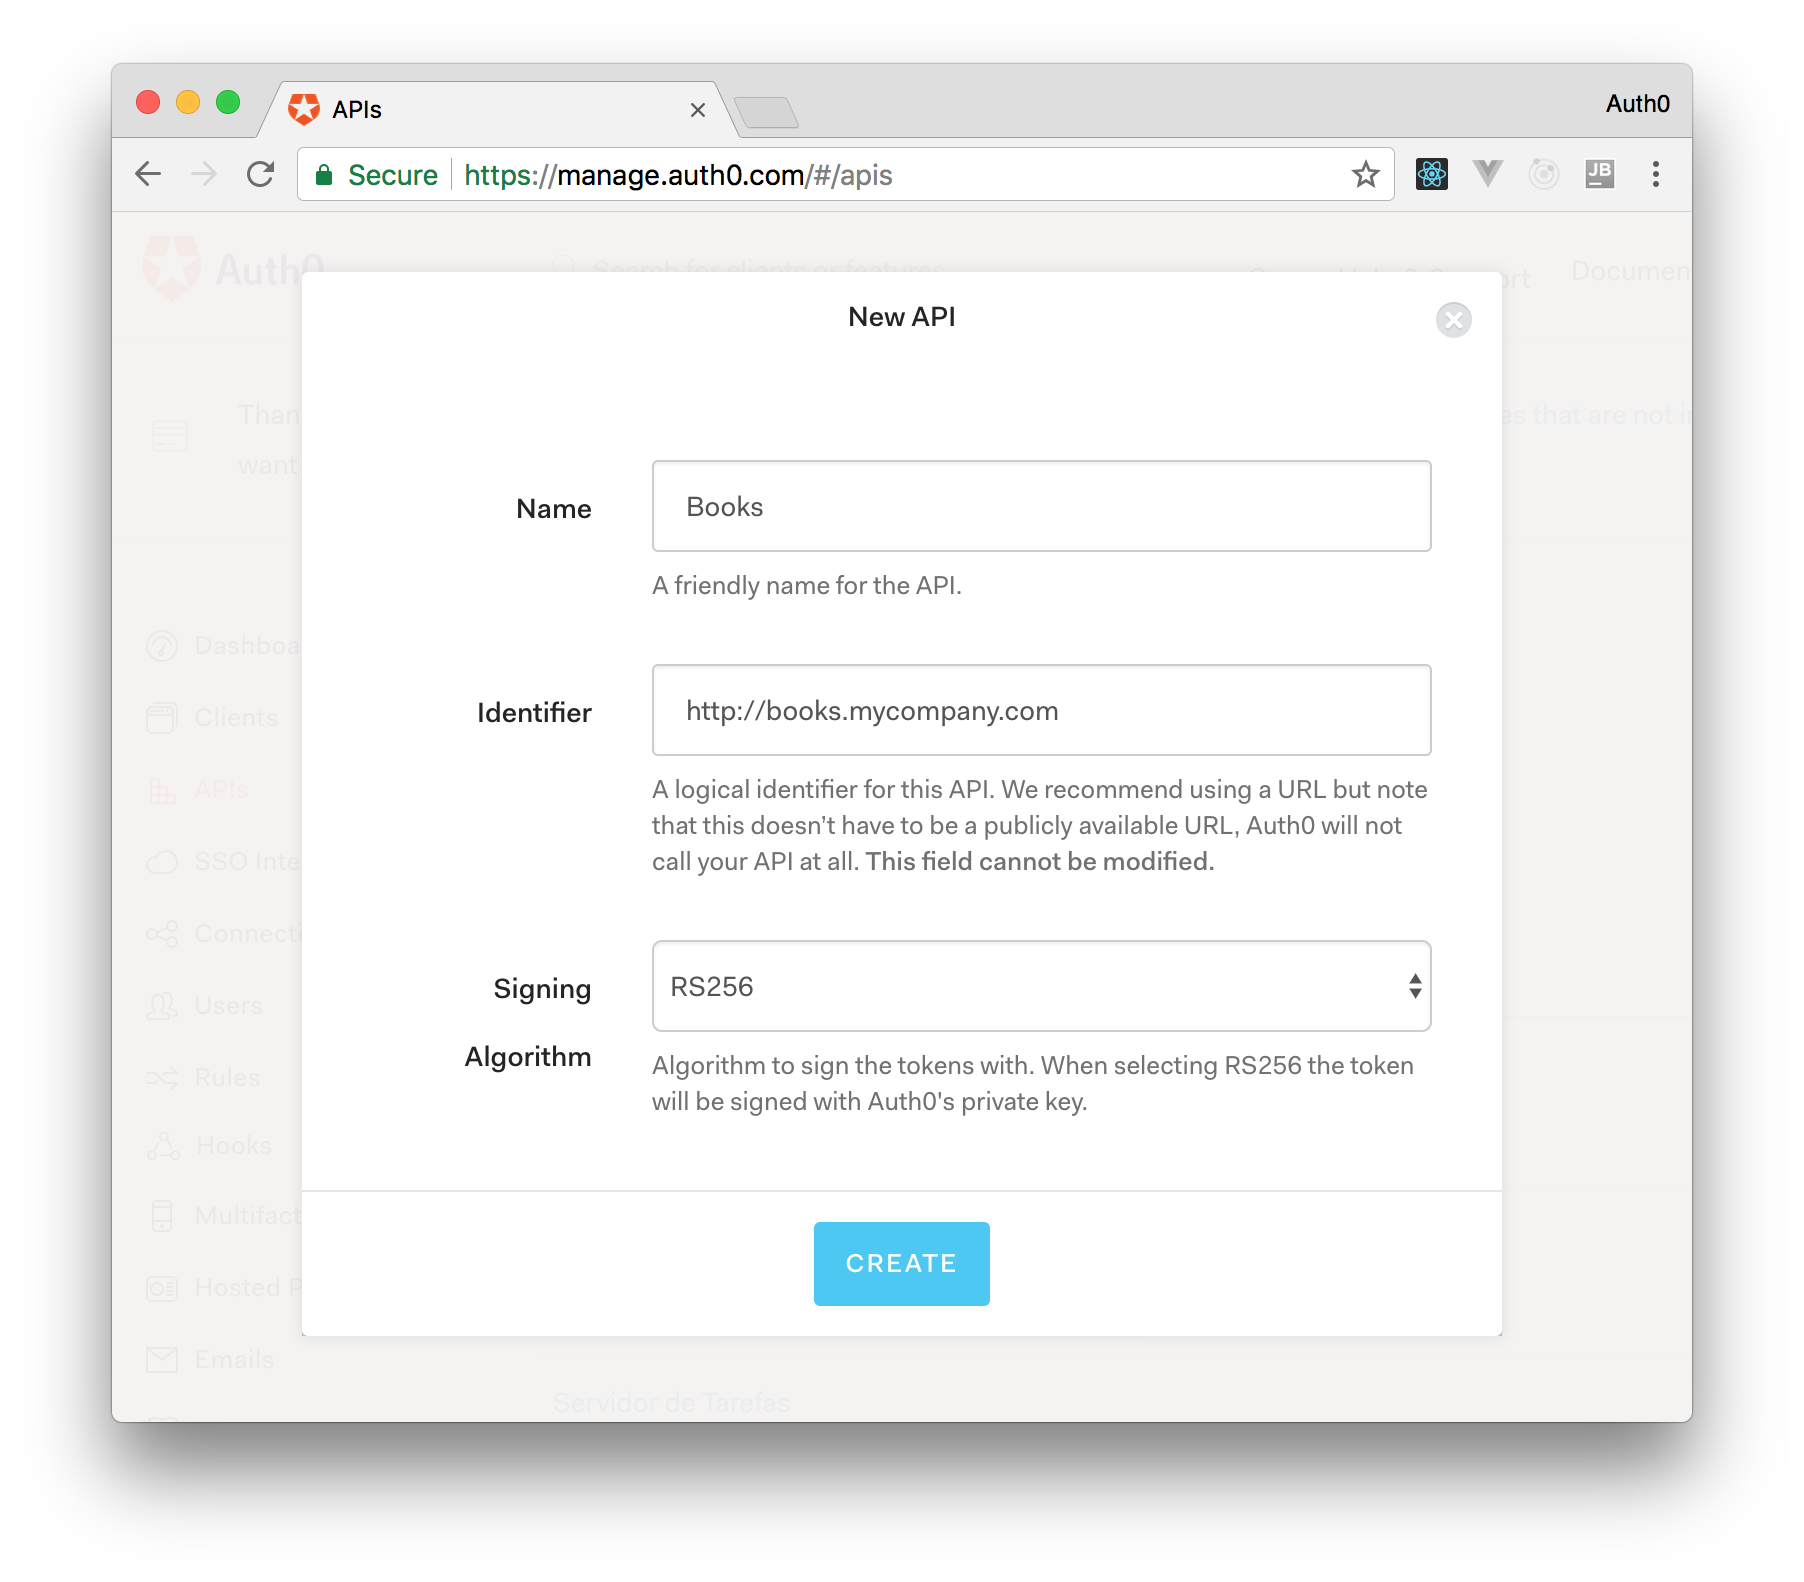
On ASP.NET Core 3.0, you need to create an API in your Auth0 Management Dashboard and change two things on your code. To create an API, you need to sign up for a free Auth0 account. After that, you need to go to the API section of the dashboard and click on "Create API". On the dialog shown, you can set the Name of our API as "Books", the Identifier as "http://books.mycompany.com", and leave the Signing Algorithm as "RS256".
After that, you have to add the call to services.AddAuthentication in the ConfigureServices method of Startup:
string domain = $"https://{Configuration["Auth0:Domain"]}/";
services.AddAuthentication(options =>
{
  options.DefaultAuthenticateScheme = JwtBearerDefaults.AuthenticationScheme;
  options.DefaultChallengeScheme = JwtBearerDefaults.AuthenticationScheme;
}).AddJwtBearer(options =>
{
  options.Authority = domain;
  options.Audience = Configuration["Auth0:Audience"];
});
You also need to add an invocation to app.UseAuthentication() in the body of Configure() method of Startup.
And add the following element to appsettings.json:
{
  "Logging": {
    // ...
  },
  "Auth0": {
    "Domain": "bk-samples.auth0.com",
    "Audience": "http://books.mycompany.com"
  }
}
Note that the domain, in this case, has to be changed to the domain that you specified when creating your Auth0 account.


