If you've ever used IFTTT as a developer and thought something like: "Gee, I wish I could write my own scripts as channels", you may just be in luck. When combined with their new 'Maker' Channel, enabling users to call external REST APIs, webtasks can be used to run arbitrary code, on request.
In this article we'll build a simple IFTTT channel to log words used in the headers and bylines of articles we save with Pocket, a 'read it later service' which bookmarks interesting articles for later, so they are sortable by frequency.
What's a webtask?
module.exports = function (done) {
  done(null, 'Hello, webtasks!');
}
A webtask is a snippet of code that can be called on a simple HTTP request, either directly in a browser or indeed anywhere else. The above is a very simple example but, as we will see in a moment, they can be extended as much as you wish. Their major benefits include:
- Ease of use. No complicated setup, just code.
- Vastly simplifies/eliminates the need for backend code, boiling it down into reusable, functional pieces.
- Tamper proof (uses JSON webtokens behind the scenes), and encrypted where they need to be.
You can play with the service and read more about it here, but what it amounts to is a safe and frictionless way to run custom microservices. Perfect for extending IFTTT.
Setup
Firstly we need to install the command line application, to make task management easier. To set it up all we need is:
$ npm i -g wt-cli
$ wt init
To test if it's working after the setup, write to the file hello-webtasks.js with either the following, or something to that effect:
module.exports = function (done) {
  done(null, 'Hello, webtasks!');
}
The only requirement is that you supply an entry function to be run on webtask.io's servers, here we just send back a simple message. Just run:
"The only requirement is that you supply an entry function to be run on webtask.io's servers."
Tweet This
$ wt create hello-webtasks.js
And you should be given a URL. Visit it in you're browser or console of choice and you can see the message is returned. It's pretty neat, right?

Even neater is the ability to add some context to the request through a query string or request body, and access it like so:
module.exports = function (ctx, done) {
  done(null, 'Hello, ' + ctx.data.name);
}
Generate a new URL with wt create, but this time when you visit it add &name=<your-name> to the end of the address, and you're webtask will greet you!
$ curl https://webtask.it.auth0.com/api/run/<yours>/hello-world?webtask_no_cache=1&name=milo
Hello milo!
Note that you can also add ES6 support to your webtasks easily, just put
"use latest";at the top, and you're all set!
Storing your data
We're going to take the titles and article excerpts that Pocket gives us and log their frequency. Since webtasks provide no guarantees around data survival, we'll need somewhere more persistant for the values to live. Here we'll use Mongo, because it's easy and free to get access to a database (Mongolab), and pretty terse to code with under Node.
Our webtask might look something like:
var parallel    = require('async').parallel;
var MongoClient = require('mongodb').MongoClient;

module.exports = function (ctx, done) {
  var words = ctx.data.title
    .split(' ')
    .concat(
      ctx.data.excerpt.split(' ')
    );

  MongoClient.connect(ctx.data.MONGO_URL, function (err, db) {
    if(err) return done(err);

    var job_list = words.map(function (word) {

      return function (cb) {
        save_word(word, db, function (err) {
          if(err) return cb(err);

          cb(null);
        });
      };

    });

    parallel(job_list, function (err) {
      if(err) return done(err);

      done(null, 'Success.');
    });

  });
};
We connect to the remote database, put all the words Pocket gives us in an array and loop over it, saving each one, then we confirm to IFTTT that we're done by responding.
Note that we can use
requirejust as in regular Node. There is a list of available modules here, with many of them installed in multiple versions for you to start`require-ing (require(module@0.13.2)).
Top secrets
Now we need to supply our webtask with access to a database, but a querystring is hardly the safest place for passwords! Instead we'll embed it, encrypted, in our webtask. Sounds like it might need some setup, but webtasks supports the passing of encrypted variables out of the box, by embedding them in a token. To pass your secrets safely to your task, just run:
$ wt create --secret SECRET=<my-darkest-secrets> <my-webtask.js>And SECRET will by passed on ctx.data, just like the variables attached on the querystring. If you haven't already set one up, sign up for a sandbox account at Mongolab and pass in your database's address as a the secret MONGO_URL=mongodb://<your-database>.
$ wt create --secret MONGO_URL=mongodb://... pocket-ifttt.js
https://webtask.it.auth0.com/api/run/<yours>/pocket-ifttt
If This Then Webtask
Connecting your webtask to IFTTT is relatively painless, just setup a recipe to be triggered every time you save something to Pocket.
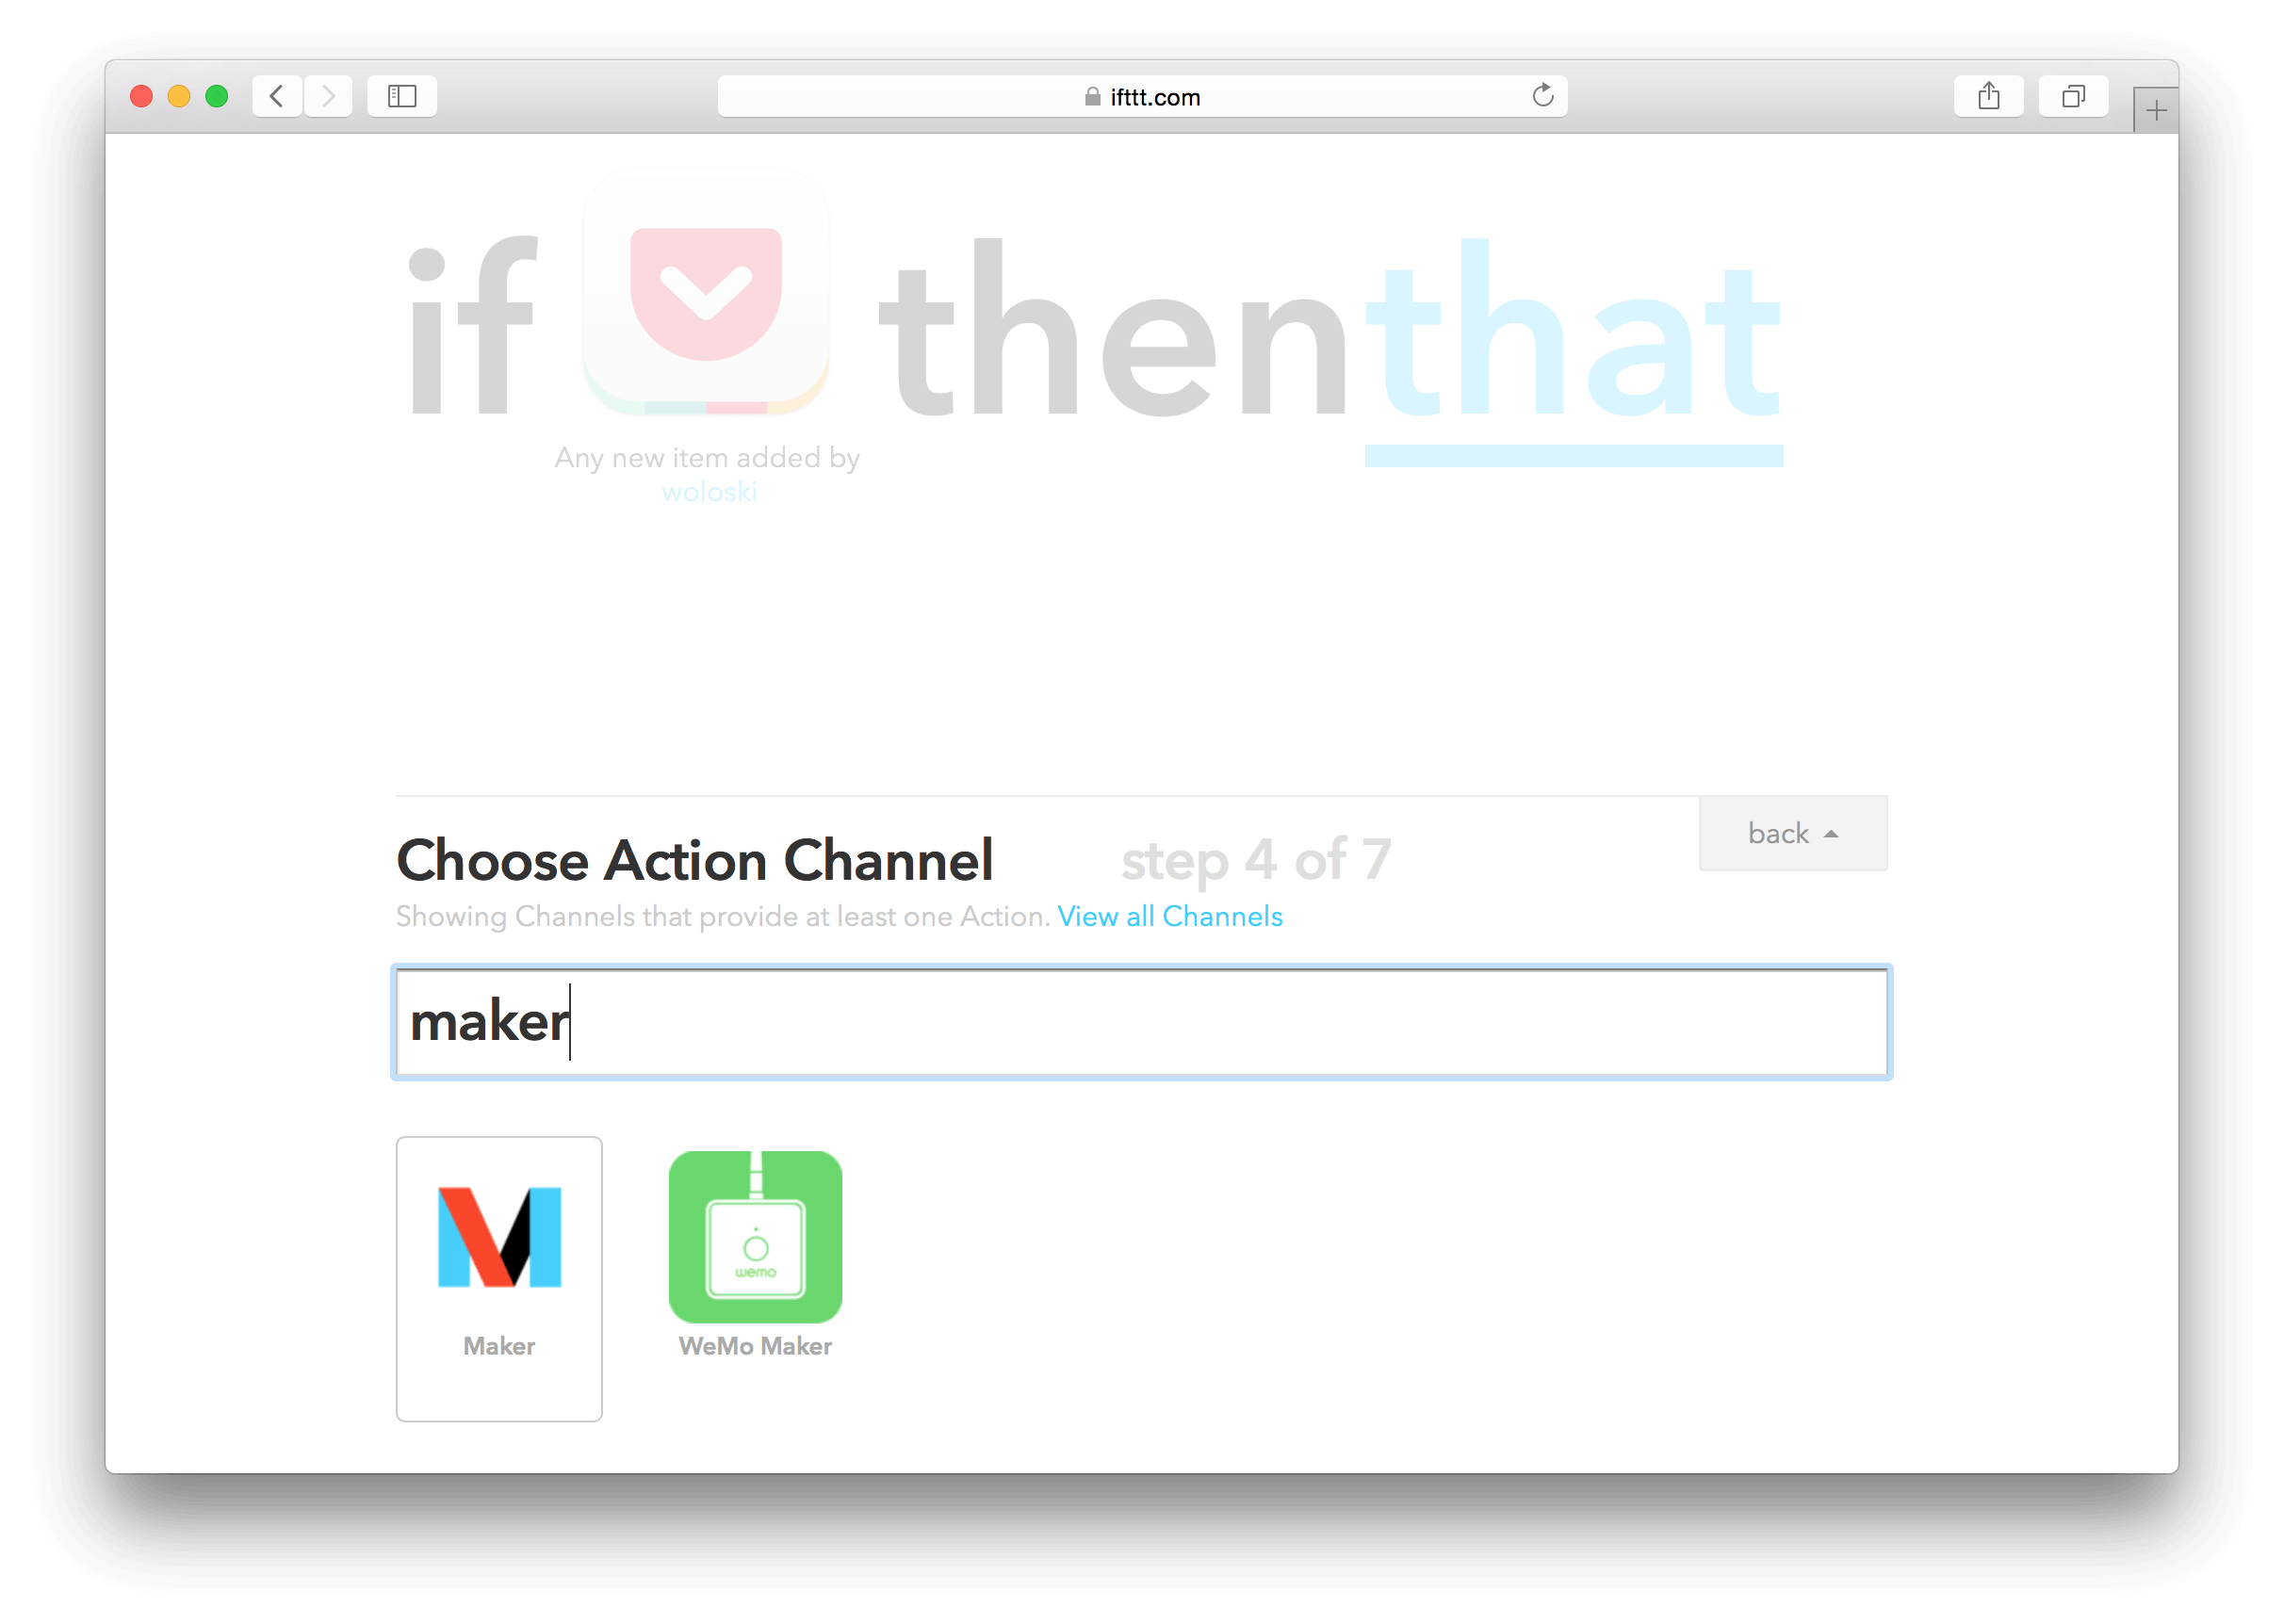
And configure the 'That' component to be a 'Maker Channel', where we can hand over control to our script.
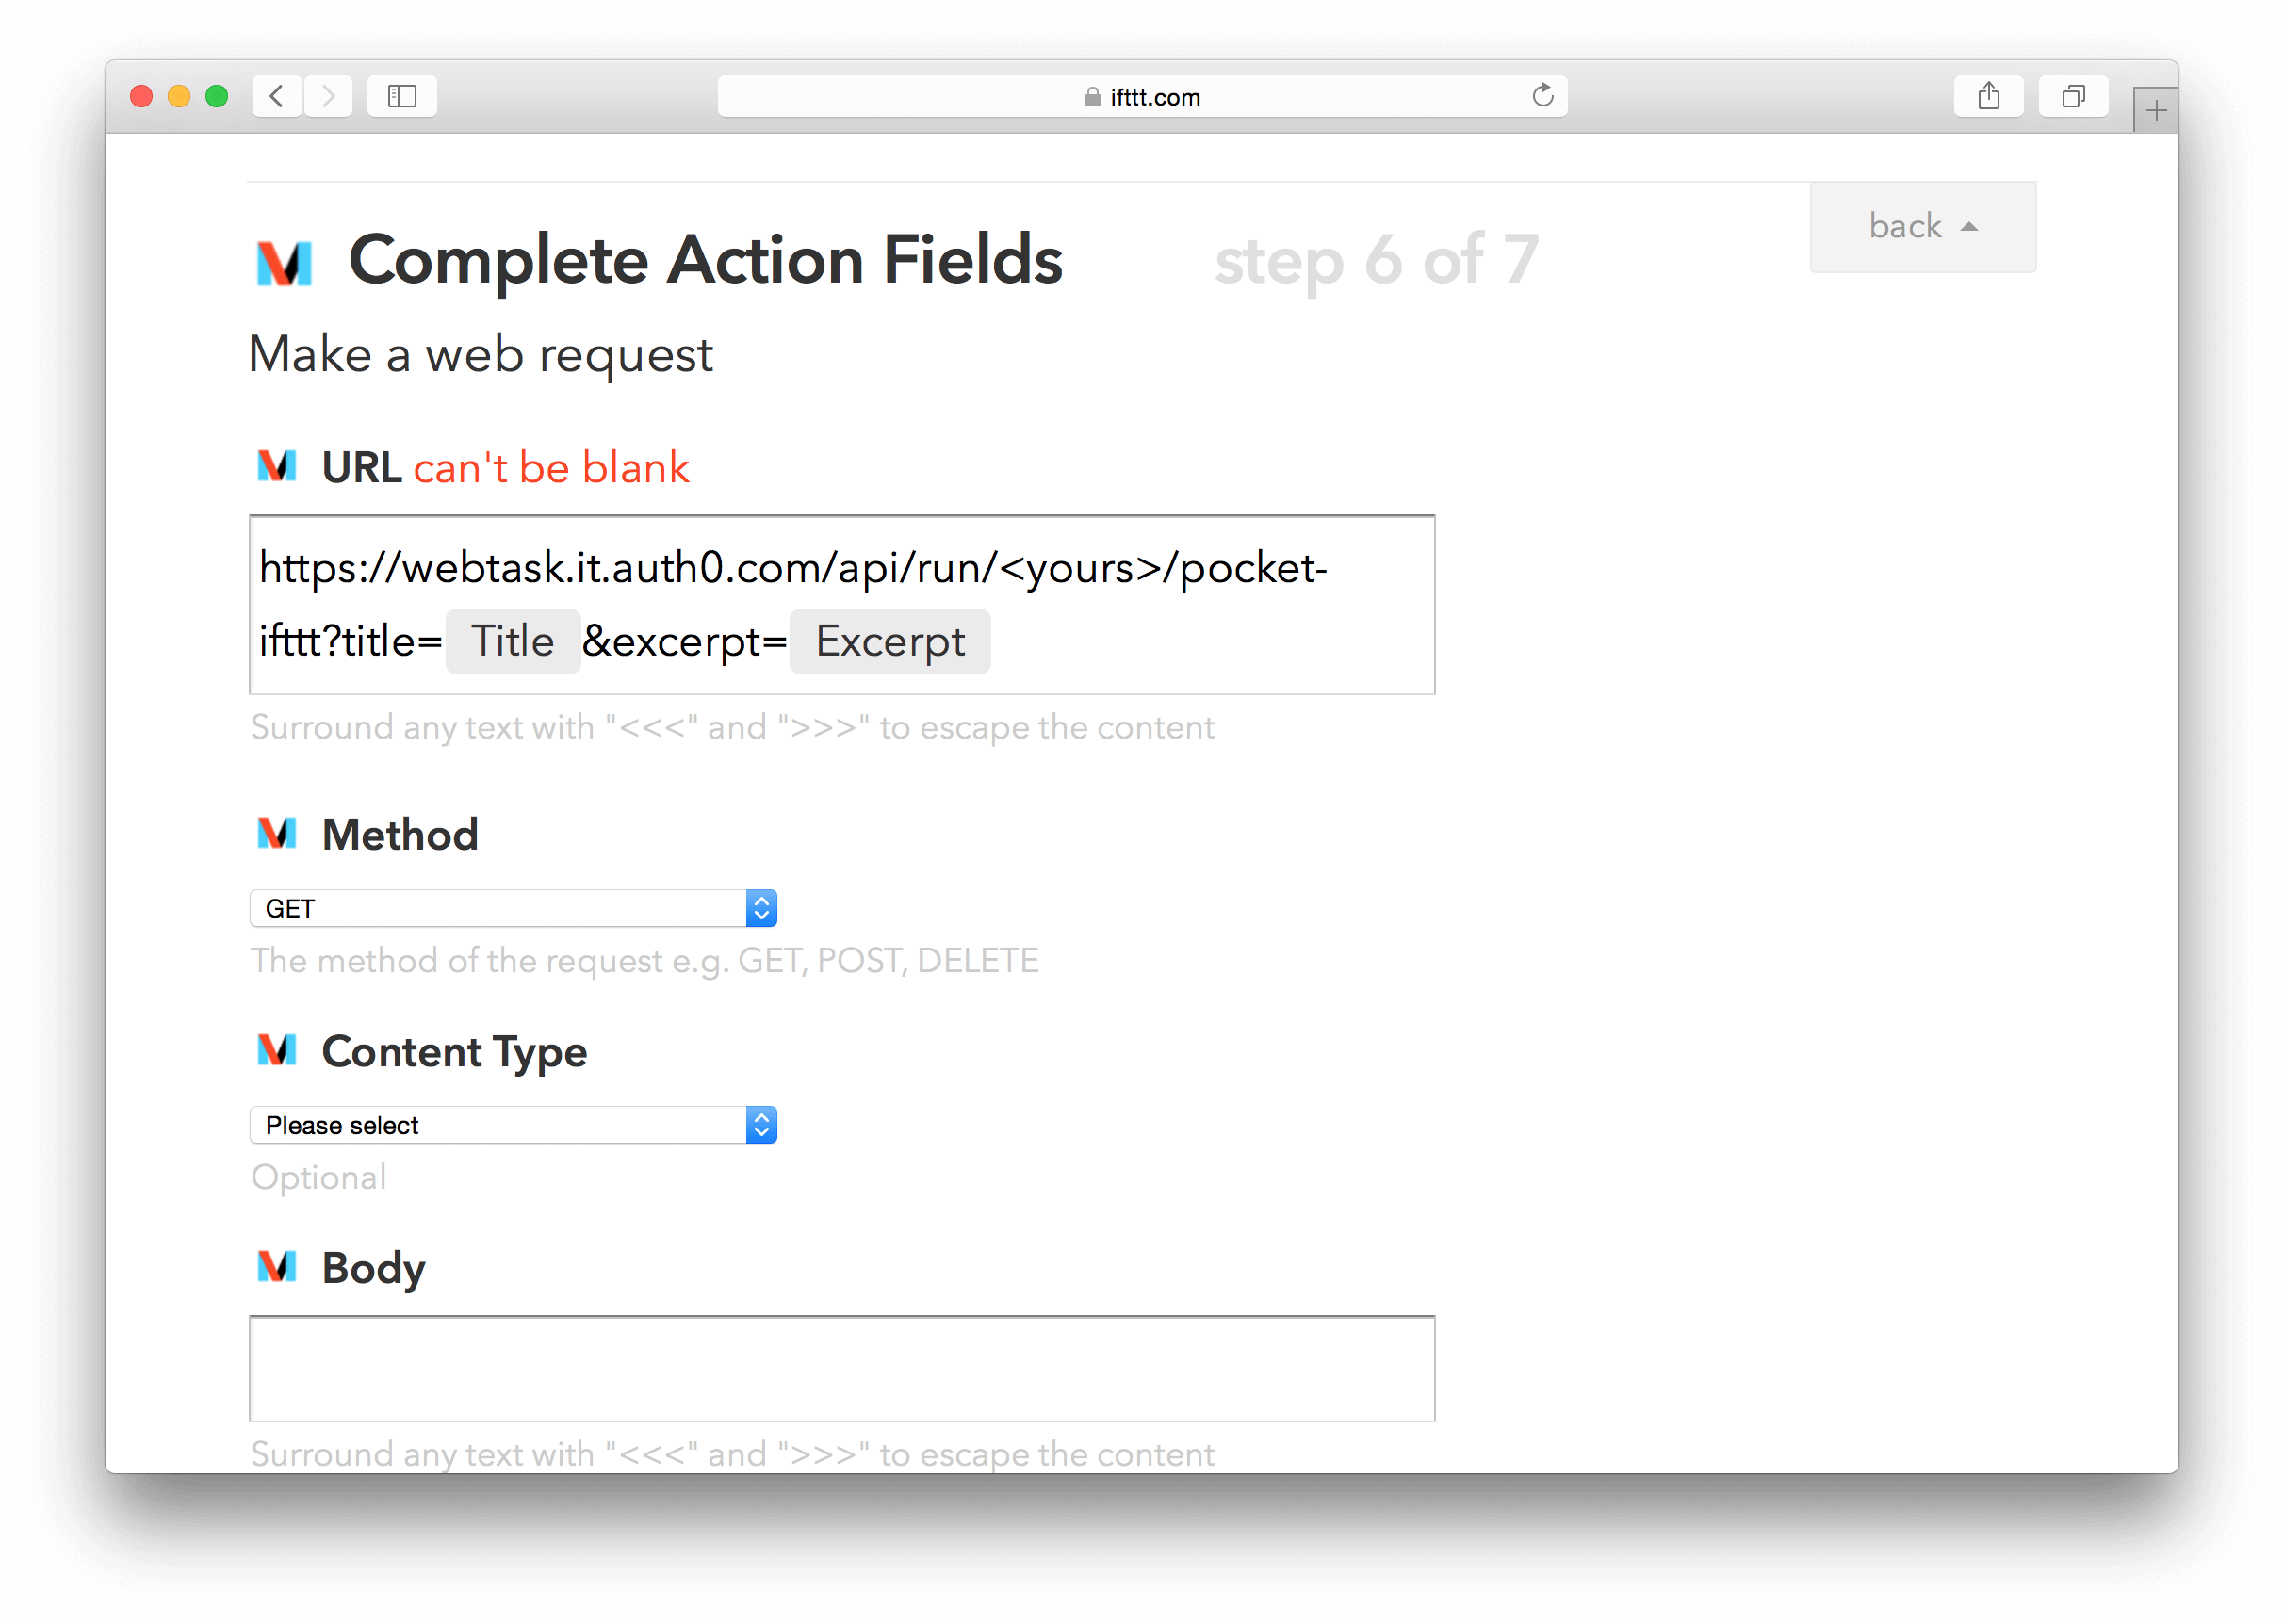
Copy and paste the URL given by wt create into the box, but add &title={{Title}}&excerpt={{Excerpt}} to the very end. This dumps the data given by the Pocket channel, making it consumable in the webtask's context.

You can test to see if everything's working by saving something in Pocket and watching your webtask's logs with:
$ wt logs
Sometimes it takes a little while for IFTTT to send the request (within a couple of minutes), but you should see a bunch of 'Successfully saved' messages in your console.

We can soup it up by ignoring common words and punctuation, saving extra data etc, but the use of webtasks would remain the same.
To the backend and beyond

The finished recipe can be found here, and the source is on github, for your viewing pleasure.
If you'd like to find out more about how webtasks work, as well as their more advanced features, you should check out the docs at webtask.io, but hopefully you can see that their simplicity and versatility is already pretty exciting!


